You’ve bought into one smart-home ecosystem — Hue lights, or SmartThings hub, or Apple HomeKit — and now every new device you consider has to be compatible with that brand. Three years in, you’ve also accumulated a Wyze camera, a Nest thermostat, two old Sonos speakers, and a Tuya bulb that won’t talk to anything else. Your phone has six apps. You have an Alexa AND a Google speaker because half your devices only work with one.
Home Assistant is the answer that fixes this — one local hub that talks to almost everything, owned by you, no cloud requirement. The setup story has gotten markedly better in the last two years. Here’s the version of “getting started” that doesn’t require pulling out a perfectly working Hue bridge first.
What you’ll need
- A Raspberry Pi 4 (4 GB or 8 GB; 2 GB works but is tight). The Pi 5 is also great, slightly overkill.
- A microSD card (32 GB+, Class 10) OR — much better — a USB-C SSD enclosure with any small SSD. Home Assistant’s database churn destroys SD cards within 12-18 months.
- The official 5V / 3A USB-C power supply.
- An ethernet cable (Wi-Fi works, ethernet is more reliable for a hub).
- Optional but useful: a SkyConnect / SLZB-06 Zigbee USB stick if you want Zigbee bulbs/sensors. ~$30. Adds a whole class of devices that don’t need Wi-Fi.
Step 1 — install Home Assistant OS
Home Assistant ships as a turnkey OS image. You don’t install on top of Raspberry Pi OS — you flash HAOS directly to the SD card or SSD.
- Open Raspberry Pi Imager. Choose OS → Other specific-purpose OS → Home Assistants and home automation → Home Assistant → Home Assistant OS (RPi 4).
- Pick your SD card / SSD as the destination. Click Write.
- Plug the boot media into the Pi. Connect ethernet. Power on.
- Wait 5-10 minutes (first boot does setup work). Then visit
http://homeassistant.local:8123from any computer on the same network.
You’ll create the first user (this is the admin), pick your home’s location for sun/weather/time data, and choose privacy settings. Home Assistant Cloud / Nabu Casa is optional ($6.50/month for remote access without port-forwarding); for now skip it — you can add it later.
Step 2 — let it discover what you already have
Within minutes of being on your network, Home Assistant will discover any device that broadcasts its presence: Hue bridges, SmartThings hubs, Sonos speakers, Plex / Jellyfin, Roku TVs, NAS shares, AirPlay receivers, ESPHome devices. The dashboard shows a “Discovered” section with one-click integration prompts.
The trick: do NOT remove your existing hubs first. Home Assistant talks to your Hue bridge to control Hue lights — the bridge stays. Same for SmartThings, Apple Home (via HomeKit Bridge integration), and most other ecosystems. Home Assistant is a meta-hub that orchestrates the hubs you already have. Removing a working bridge to replace it with HA-only is a common mistake that creates more work for you.
Step 3 — add the integrations one at a time
Settings → Devices & Services → Add Integration. The list is long. The integrations that make life easiest in the first week:
- Philips Hue — discovers your bridge, brings in all your bulbs / scenes as Home Assistant entities.
- Nest — your thermostat appears as a climate entity.
- HomeKit Controller — pulls in any HomeKit-only device (the cheap Eve sensors etc).
- Wyze — brings cameras, plugs, and sensors. Note: Wyze’s API auth is fragile; the integration sometimes needs re-auth every few months.
- Tuya — for your random no-name smart bulb that came with the Alexa-bundle. Surprisingly well-supported.
- Mobile App — install the Home Assistant app on your phone, log in. Your phone’s location, battery level, and (with permission) sensors become entities you can use in automations.
Step 4 — your first automation
Home Assistant’s killer feature isn’t dashboards or the device count. It’s that it can wire any trigger to any action across all your ecosystems — something Hue or SmartThings alone can’t do.
Example automation: when the front-door Wyze camera detects motion AND it’s after sunset, turn on the Hue porch light to 100% for 5 minutes, then back to 30%. In Home Assistant’s automation editor:
# /config/automations.yaml
- alias: "Porch light on motion after dark"
  trigger:
    - platform: state
      entity_id: binary_sensor.front_door_camera_motion
      to: "on"
  condition:
    - condition: sun
      after: sunset
      after_offset: "00:00:00"
  action:
    - service: light.turn_on
      target:
        entity_id: light.porch
      data:
        brightness_pct: 100
    - delay: "00:05:00"
    - service: light.turn_on
      target:
        entity_id: light.porch
      data:
        brightness_pct: 30
That’s two ecosystems (Wyze + Hue) talking to each other through a third hub, no cloud required. Neither vendor’s app supports this kind of cross-brand glue.
Things to do in the first month
- Move the database to MariaDB. The default SQLite database is fine for a few weeks; with several entities updating constantly, queries slow down. Add the MariaDB add-on, switch the recorder to it, and your dashboard is responsive again.
- Set up backups. Settings → System → Backups. Configure Google Drive / Dropbox / B2 as a destination via the Google-Drive-Backup add-on. Daily backups, 7-day retention, automatic. The day you regret not doing this is the day you accidentally break your config.
- Get a Zigbee dongle and try one Zigbee bulb. The IKEA TRÅDFRI bulbs are $10 and are the hello-world. ZHA (Zigbee Home Automation) is the integration. You’ll never go back to Wi-Fi bulbs after the first one.
- Don’t try to migrate everything in week one. Adding integrations one at a time, watching what works, fixing edge cases — that’s the right pace. Home Assistant rewards patience.
The endgame is what you wanted in the first place: every smart device in your house works through one app, one dashboard, one set of automations, and the day Tuya pivots to AI surveillance, you can yank that integration without losing anything else.
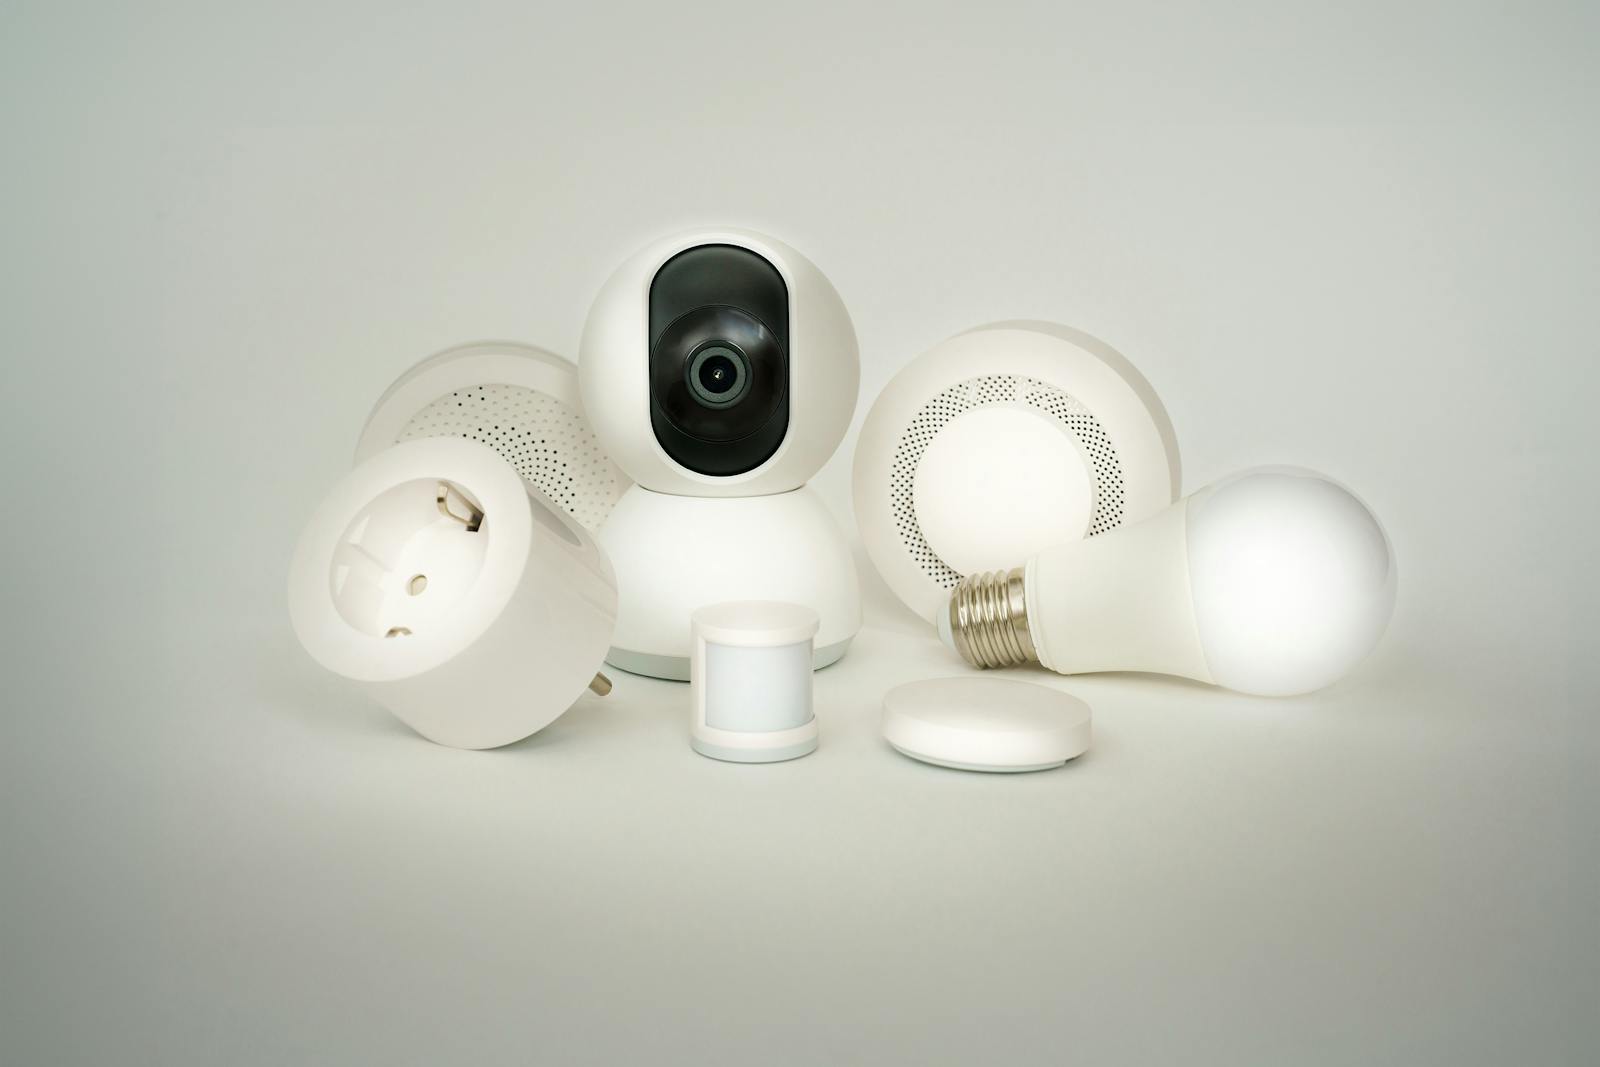
Photo: Smart-home device collection by Jakub Zerdzicki on Pexels.