A 4 TB ext4 partition I’d been using as bulk storage on a NAS started returning EIO on a handful of files last month. dmesg was full of EXT4-fs error messages about inode table corruption. The drive itself was healthy according to SMART. The filesystem had taken a hit somewhere — probably a bad write during a brief power loss months earlier — and ext4’s lazy detection model meant I was only finding it now.
The recovery is e2fsck. The danger is that e2fsck has a flag that “fixes” by erasing data you might still want. This is the recipe I followed to get my data out without losing more of it.
Step 0: stop touching it
sudo umount /mnt/storage # or fail to — see below
If the unmount fails (“device is busy”), find what’s holding it:
sudo lsof +D /mnt/storage
sudo fuser -mv /mnt/storage
Kill or stop those processes. Never run e2fsck on a mounted filesystem — even read-only — except for the absolute simplest case (and even then, you shouldn’t). The data structures on disk are changing while you’re trying to verify them, and the result is unpredictable.
Step 1: image before fsck (mandatory if data matters)
The single most important rule of filesystem recovery: image first, fix second. e2fsck can make the wrong call and you want a copy to retry from. If the partition is small enough to image to spare disk:
sudo dd if=/dev/sdb1 of=/spare/sdb1.img bs=4M conv=noerror,sync status=progress
For 4 TB you probably don’t have spare 4 TB lying around. Two alternatives:
- Block-level copy to another drive of the same size or larger. Best option if you have it. Fail-tolerant via
dd_rescueorddrescuerather than vanilladd. - Sparse image to a bigger volume. Use
ddwith a sparse output flag, orpartclone -c -s /dev/sdb1 -o /spare/sdb1.partcloneto compress the empty space. - Skip imaging. Only if the data isn’t critical and you’re willing to lose more in exchange for not buying another disk. Documented for honesty; almost never the right call.
Step 2: read-only inspection first
# -n is "no": answer no to all questions, just report
sudo e2fsck -nv /dev/sdb1 | tee /tmp/fsck-readonly.log
This is non-destructive. It walks every inode, every block group, and prints what it would change without changing anything. The log tells you whether you’re dealing with:
- A few inodes flagged “deleted/unused inode N has nonzero links” — minor.
- “Group N’s block bitmap is invalid” or “Group N’s inode bitmap is invalid” — moderate, recoverable.
- “Inode table for group N is corrupt” or “Bad magic number in superblock” — serious, may need expert recovery.
A typical “I had a power loss” run looks scary in -n mode (long pages of output) but is mostly trivial fixes that -y will handle correctly.
Step 3: the flags that matter
-n— read-only check. Always run this first.-p— automatic preen. Fix only the safe stuff (level-1 errors that fsck has high confidence in). Bails out if it sees anything risky.-y— say yes to every question. Use this when-pbails because the questions are all things you’d answer yes to. Risk: you said yes to a question that erased data.-f— force a check even if the filesystem appears clean.-c— also do a bad-block scan with badblocks. Slow on a 4 TB drive. Worth it if you suspect drive failure.-b N— use backup superblock at offset N. Only needed if the primary superblock itself is corrupt (rare).
The flag that DESTROYS
e2fsck -D: optimise directory layouts. This rebuilds directory entries to be faster. It is also the flag I have most often seen people regret. If a directory is corrupted, -D can rebuild it in a way that commits to the corruption — orphan files become permanently lost rather than recoverable.
Do not use -D on a corrupted filesystem. It’s an optimisation flag for healthy filesystems. The man page does not lead with this warning. I am.
The recovery sequence I actually ran
# 1. Image with ddrescue
sudo ddrescue --no-scrape /dev/sdb1 /spare/sdb1.img /spare/sdb1.map

# 2. Read-only check on the image
sudo e2fsck -nv -f /spare/sdb1.img | tee /tmp/fsck-image.log

# 3. Try preen on the image first
sudo e2fsck -p -f /spare/sdb1.img
# If preen succeeds, mount the image read-only and copy data off

# 4. If preen says "UNEXPECTED INCONSISTENCY; RUN fsck MANUALLY":
sudo e2fsck -y -f /spare/sdb1.img
# Watch every line. Look for "DELETING" or "CLEARED" — those are data losses

# 5. Mount the repaired image read-only
sudo mount -o loop,ro /spare/sdb1.img /mnt/recovery
ls /mnt/recovery/lost+found/

# 6. rsync everything off to a clean disk
rsync -avh --info=progress2 /mnt/recovery/ /backup/

# 7. Decide whether to write fixes back to the original disk
#    (only after you have data off it)
The lost+found folder
After fsck repairs an inode-table corruption, files whose directory entry is missing but whose data blocks are recoverable end up in lost+found/ with names like #7327423. Recover them manually:
cd /mnt/recovery/lost+found
file *  # mime-type detection on each
# Rename based on mimetype + content inspection
For my run: 17 files in lost+found, all photos that I matched by EXIF date back to their original directories. Tedious but recoverable.
Prevention going forward
- Mount with
data=journalif the data matters more than write performance. Slower, dramatically more crash-resilient. - Set
dirty_writeback_centisecs=500(5 seconds) instead of the default 30 seconds — narrows the unflushed-write window. - Run
e2fsck -fon every filesystem at least quarterly, with the volume unmounted, to catch silent corruption before it cascades. - Keep snapshots (Btrfs/ZFS) or backups (restic/borg) of anything you can’t reproduce. ext4 with no journaling layer above it is fine for performance, terrible as a “I’ll just trust it” model.
I lost zero files in the recovery above, but only because I imaged before fsck’ing. Without the image, one bad -D would have made things worse. The process is slower than people remember; do it patiently and you’ll get most or all of your data back.
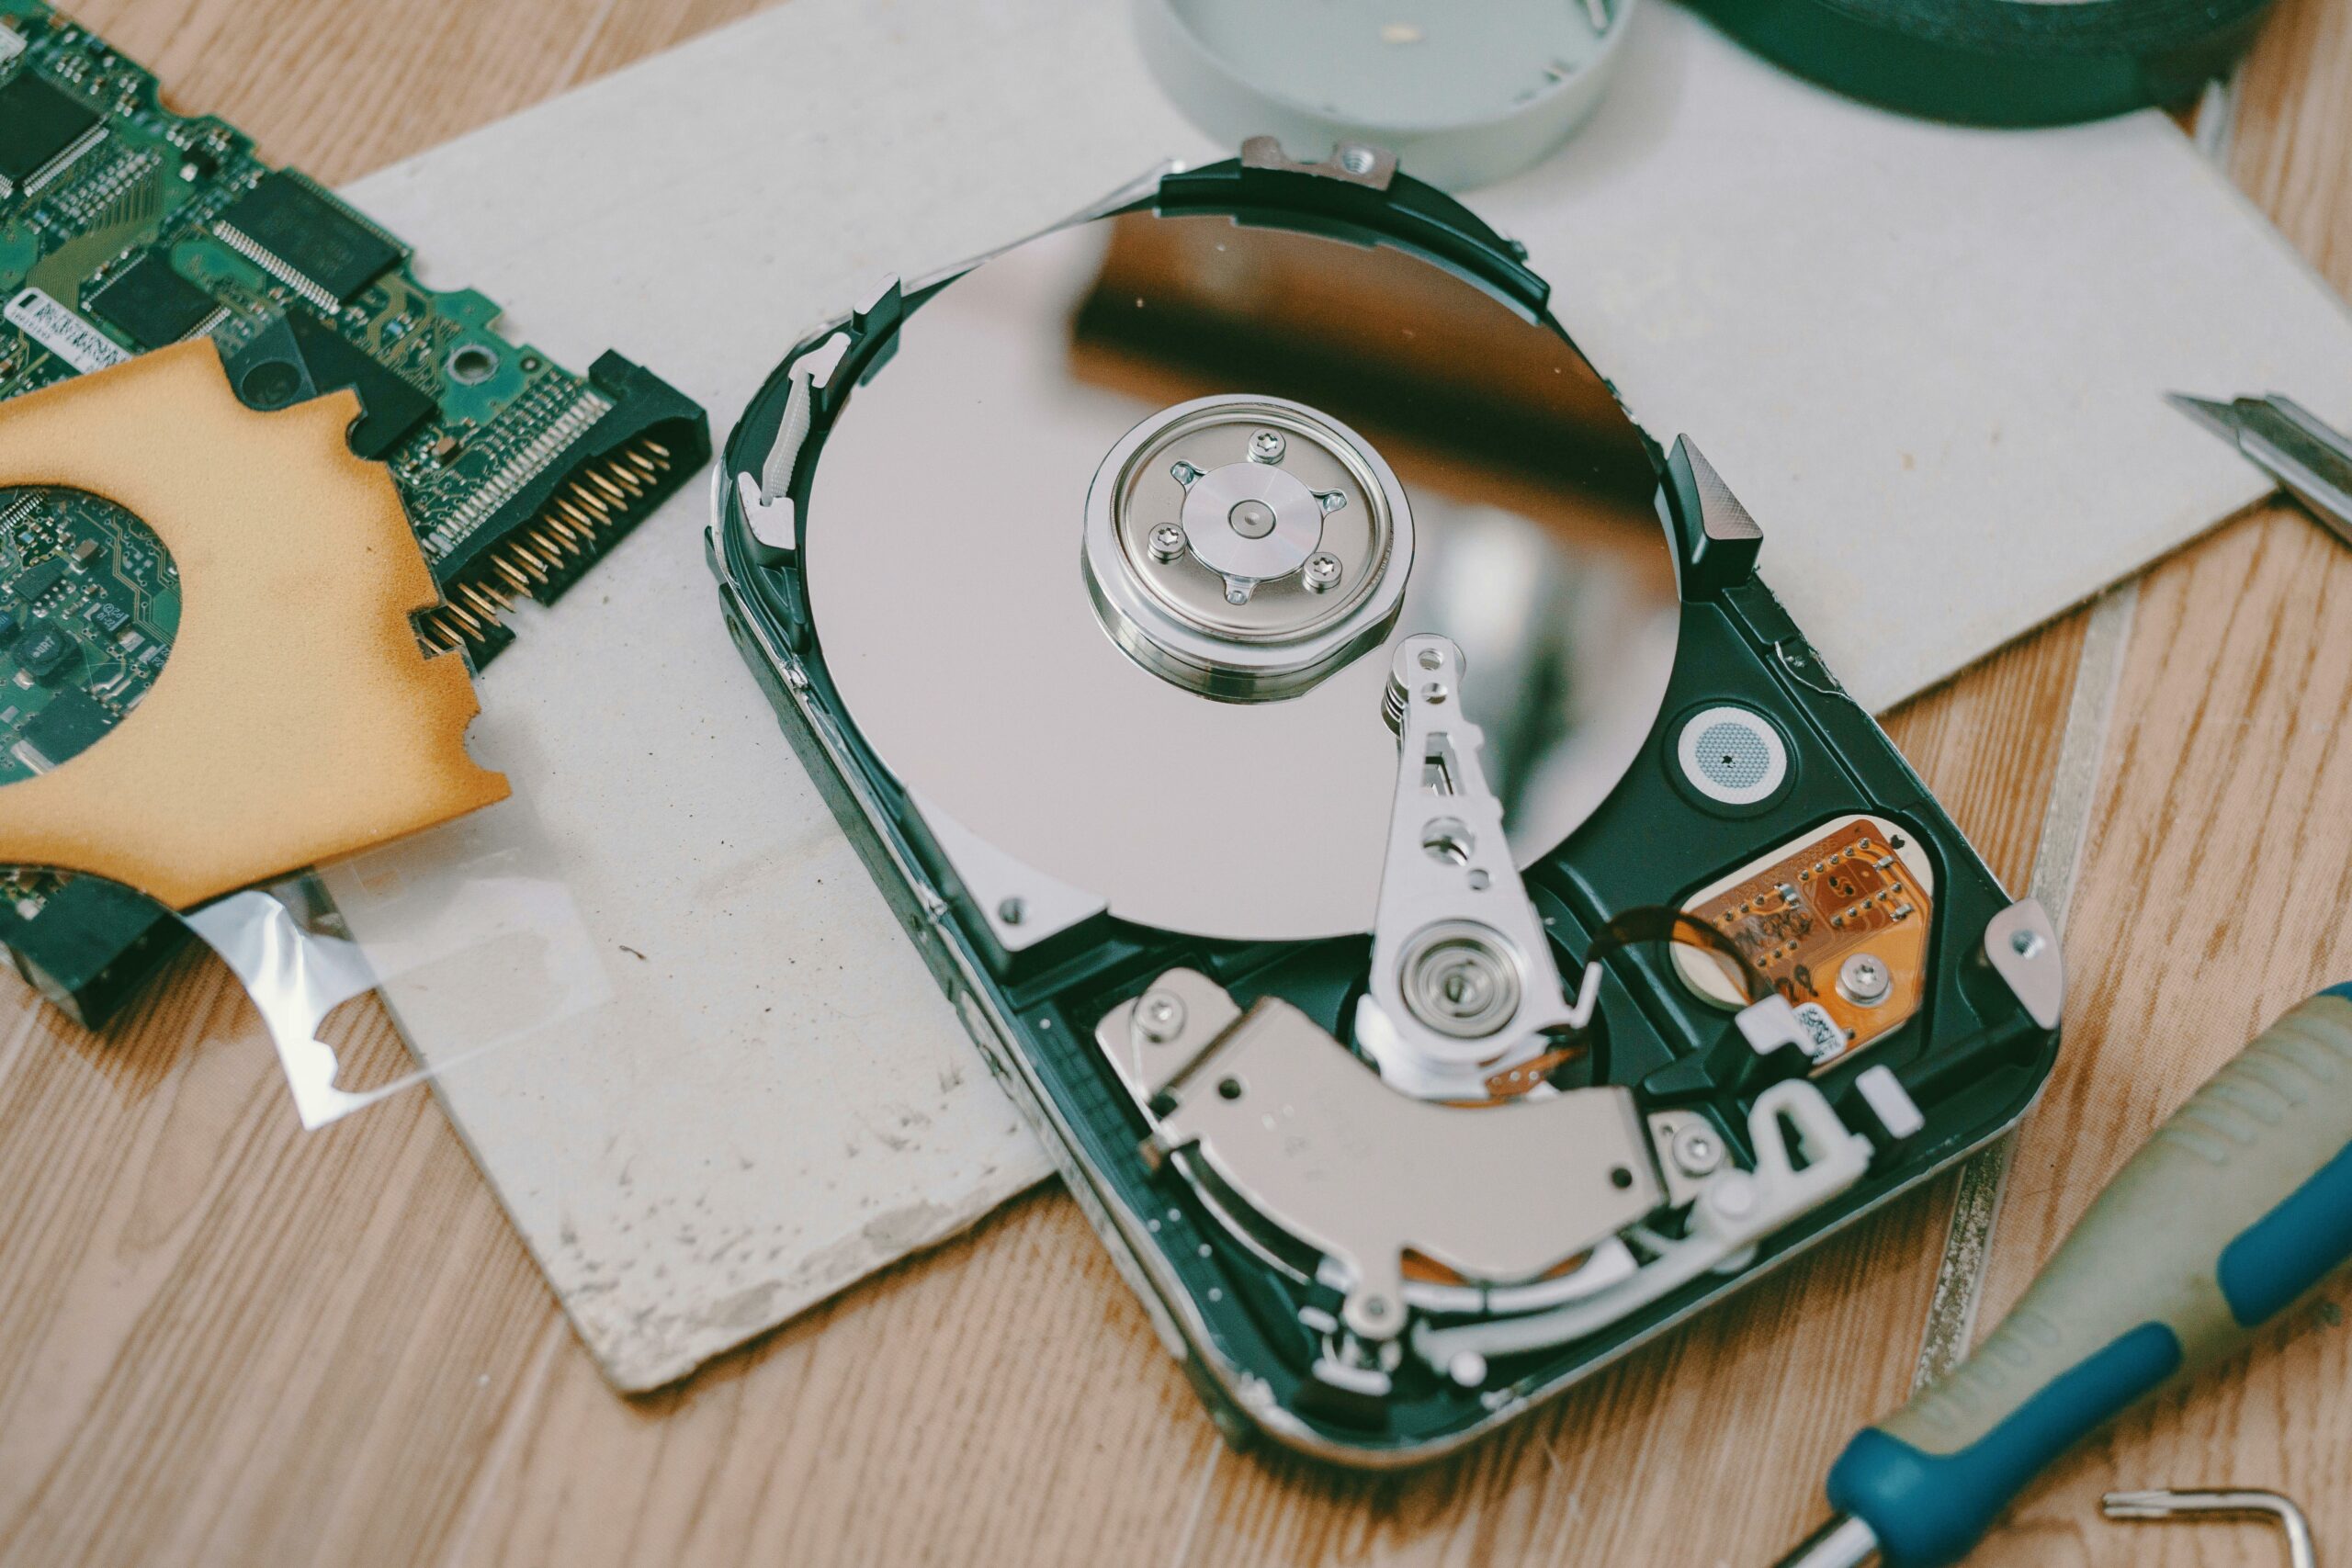
Cover photo: Fox on Pexels.