The webcam in your MacBook is fine for hopping on a quick call. The webcam in your iPhone — even an iPhone 12, let alone a recent Pro — is dramatically better. More megapixels, larger sensor, better stabilization, way better low-light performance, and Apple lets you use it as your Mac’s webcam wirelessly via Continuity Camera. The setup is one click. The image quality is on another planet from a built-in laptop camera.
I’ve used this for two years on every video call. Here’s what works in 2026, the gear that turns it from cool-trick into permanent-setup, and the edges where Studio Light or Center Stage stop working as advertised.
What you need to make Continuity Camera turn on
- iPhone XR or newer, on iOS 16 or later (so basically any iPhone since 2018). The good Studio Light effect needs an iPhone 12 or newer because it relies on the Neural Engine.
- Mac on macOS Ventura (13) or newer. Sequoia (15) added some niceties like reactions and presenter overlays.
- Both signed into the same Apple ID, both with Bluetooth + Wi-Fi on, both within ~5 meters of each other.
- iPhone locked or with the screen off. Counterintuitively, you DON’T unlock it. Continuity Camera works while the phone is locked — it auto-wakes when the Mac requests it.
That’s the whole prerequisite list. No app to install, no permission to grant per-call.
The first time, in any video app
Open Zoom, FaceTime, Google Meet, Slack — doesn’t matter which. In the camera dropdown, “iPhone” appears as one of the options. Select it. Your phone will wake up briefly, the camera kicks on, and the Mac’s preview shows what the iPhone sees.
The iPhone’s screen displays a Pause / Disconnect controller while in use, with a few other settings buried under that. There’s no app you have to keep open — the camera role is system-level.
The mount that makes it actually usable
The standard advice is “balance your iPhone on the laptop screen with a Belkin MagSafe mount.” That works for impromptu calls. For a permanent setup that’s stable, has the right framing, and doesn’t make you redo it every morning:
- Studio Neat Magneto + a small tripod. Magnetic phone mount, screws onto any 1/4"-20 tripod. ~$30 + $15 for the tripod. The phone clips on, framing stays the same every time.
- Elgato Multi Mount + Continuity holder. Clamps to the back of your desk like a microphone arm. The phone perches at the top edge of your monitor — like a webcam should be — rather than below or beside. ~$80.
- Avoid the Belkin MagSafe-on-laptop-lid mount if you have a M3-or-later 14"/16" MacBook with the notched display. The iPhone sits exactly over the notch, blocking your menubar. Annoying.
Whichever mount: aim for the iPhone to be at eye level when you’re sitting at the desk, ~50–70 cm from your face. That gives you the natural “professional webcam” framing that everyone associates with expensive setups.
The four toggles in Control Center
While Continuity Camera is the active source, click the Video tile in your Mac’s Control Center. Four buttons:
- Center Stage. Auto-pans/zooms to keep your face centered if you move. Looks magical the first time. Decide once: I leave it on for casual calls, off for fixed-frame podcast recording where I want predictable framing.
- Portrait. Blurs the background. Same effect Zoom and Meet have built in — but Continuity Camera’s version uses depth data from the iPhone’s lidar, which means the edges around your hair don’t fall apart. This one is the killer feature.
- Studio Light. Lifts shadows from your face and dims the background. Fakes a real ring light decently. Less subtle in extreme conditions, fine in normal indoor lighting.
- Desk View. A weird and underrated mode. Uses the iPhone’s ultrawide lens to show a virtual top-down view of your desk — great for showing handwritten notes, sketches, or a board game during a remote pictionary. Needs an iPhone 11 or newer.
The edges — where it falls over
- Studio Light is laggy on iPhone 11 / older. The effect uses ML on the device. Older Neural Engines can’t keep up. If your video looks choppy with Studio Light on, turn it off — it’s not the network.
- Center Stage gets confused with two faces. If a partner walks past, Center Stage treats it as “a second person to track” and zooms out to fit both. Mid-call, that’s distracting. Turn it off for any call where you’re not alone in frame.
- Auto-switching to iPhone is over-eager. Macs running Sonoma / Sequoia will auto-pick the iPhone whenever it’s nearby, even when you wanted the built-in camera. If you sometimes need the laptop cam (e.g., screen sharing while walking around), set the call’s camera to FaceTime HD Camera explicitly.
- Bluetooth load. Continuity Camera uses Wi-Fi for the video stream and Bluetooth for handoff. If you have lots of Bluetooth devices (AirPods, mouse, keyboard, watch), the hand-shake can stall for 5–10 seconds at start. It’s not a problem during the call, just at the start.
- iPhone gets warm. A 30-minute call leaves the iPhone noticeably warm. A two-hour call gets it hot enough that iOS will throttle — you’ll see the video frame rate drop. Mitigate by keeping the phone unplugged during calls (charging adds heat).
Keep the audio separate
Continuity Camera also exposes the iPhone’s mic, but you don’t want it — mounted iPhone mics are mediocre because they’re far from your mouth. Pair AirPods, or use the Mac’s built-in mic, or use a desk mic. In the call settings: video source = iPhone, audio source = AirPods or your dedicated mic. Apple lets you mix sources independently.
End-state: an iPhone in a tripod or arm-mount above the monitor, AirPods in your ears, a clean wide-angle of you with a softly-blurred background, no extra software, free. The webcam-as-product market — Logitech Brio, Razer Kiyo, Insta360 Link — is competing with a phone every Apple user already owns.
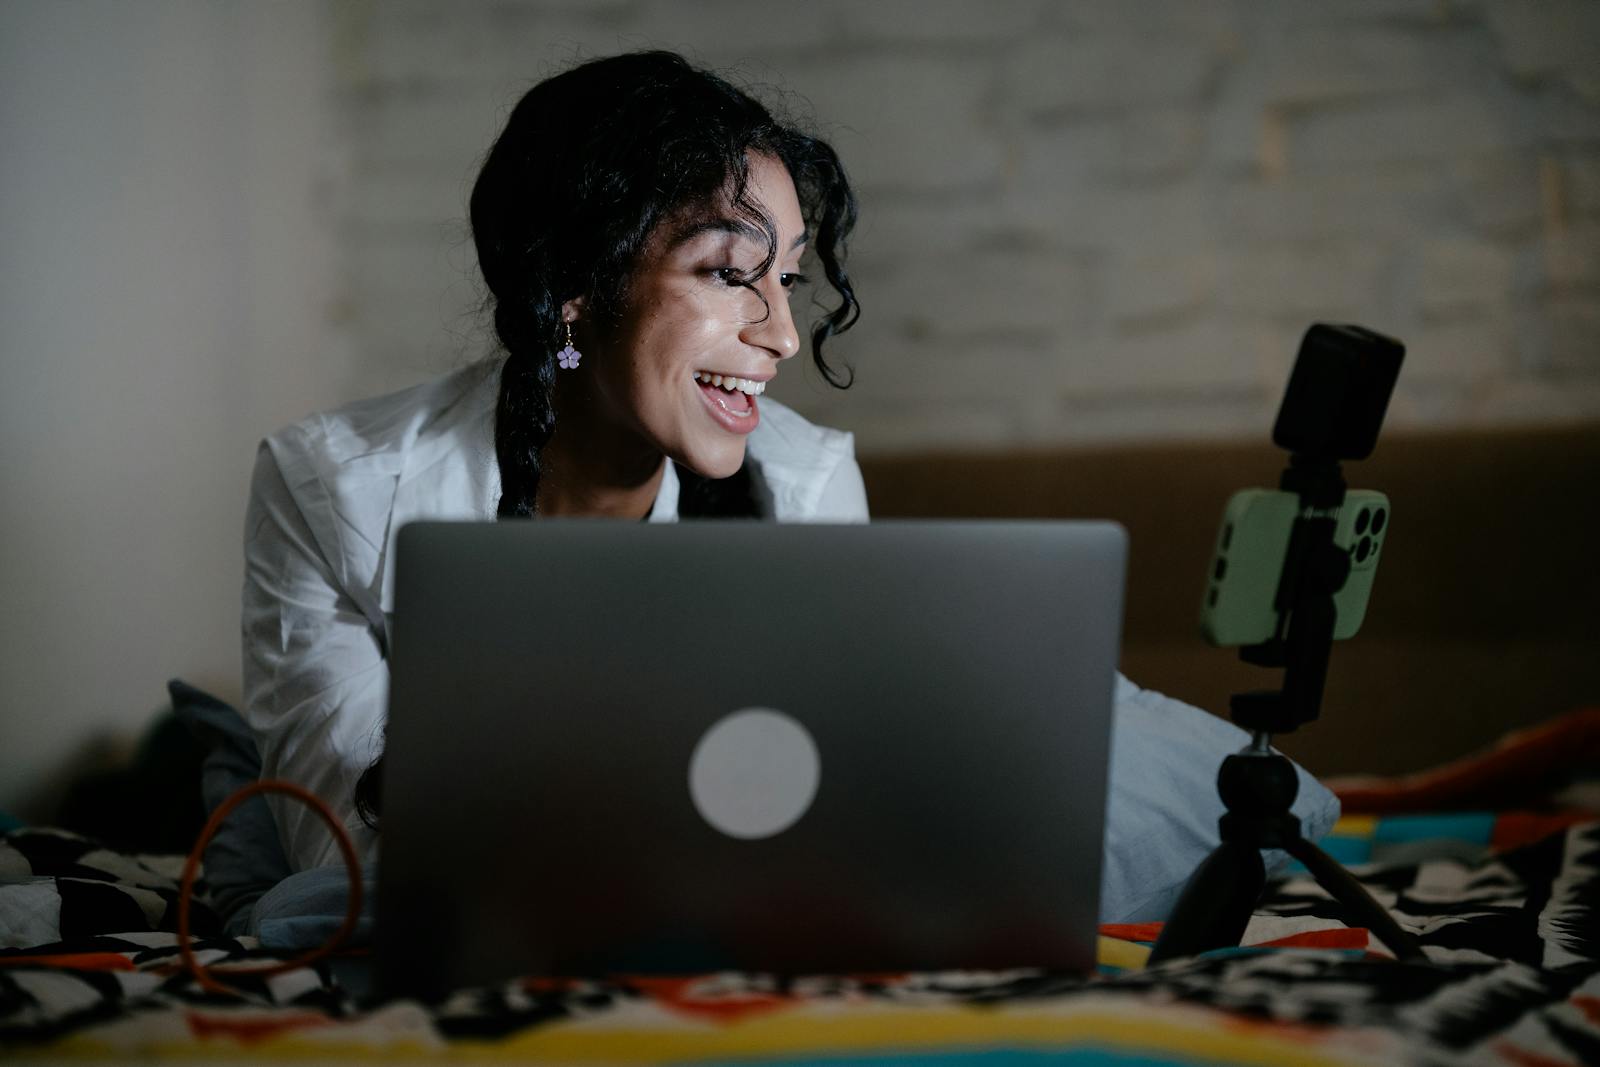
Photo: Laptop and iPhone-on-tripod video call setup by Mizuno Kozuki on Pexels.